

PREPARING FOR PAINTING…
(70% Prep, 30% Painting)
Many people think that when preparing for painting a room, they need to have a full-on “Breaking Bad” or “Dexter” set up. That means covering everything with tape and plastic. The reality of the situation is, it’s a lot easier then you may think. Since interior painting is a pretty permanent project, take a look around the room and determine what you DEFINITELY don’t want to paint.
Always ask yourself one crucial question:
Is this to hefty or awkward to move?
The Work Involved In Preparing For Painting A Room
Here are a few of the items you might want to protect and how:
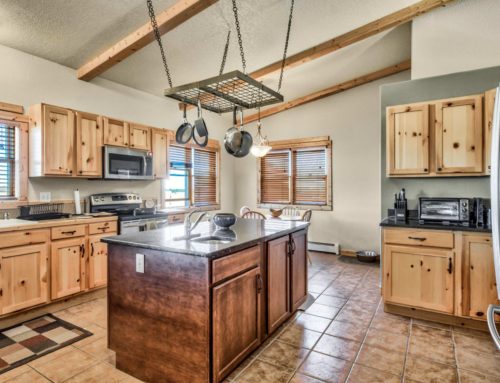
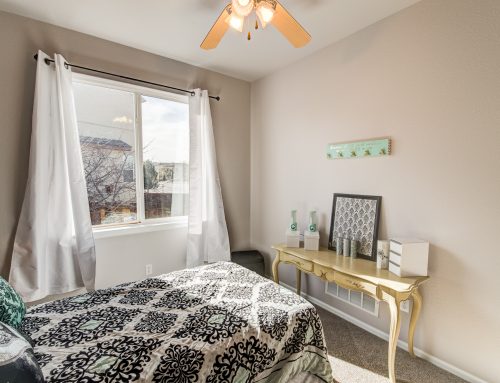
- Leave The Large Items In the Room.
Certain items are going to be too heavy or bulky to move. You can move larger items, such as dressers and beds, to the center of the room. Tiny rooms will require everything to be removed. Talk with your paint contractor to determine what items should be moved.
*Pro Tip: Don’t forget about painting the ceilings! If ceilings are on the To Do List, make sure to cover the large furniture with plastic or drop cloths to avoid unnecessary cleanup.
- Small Items Should Be Removed
Remove any small or decorative items. One of our rules is if you can pick it up yourself, then it should be removed. It’s a lot easier to move a piece of furniture then it is to clean up paint.
- Don’t Forget About Picture Hangers
Before beginning, most clients have an idea if they want to swap out pictures or graphics that hang on the wall. This step helps when it comes time to hang them back up! Remove the hangers if you don’t want to place pictures in the same place.
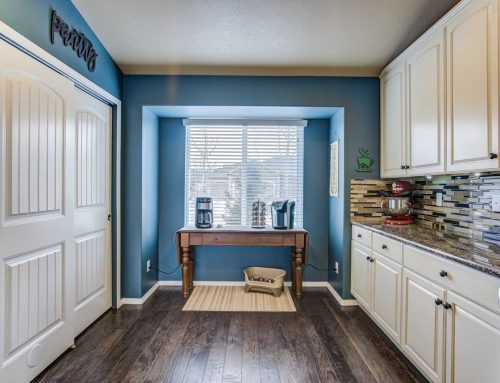
- Remove Window Treatments From Their Rods
Consider removing any blinds or curtains from the window. They tend to get wrinkled or damaged during the process. Removing the rod will help save time on brushwork and speed up the painting process. We prefer to remove the hardware as well which reduces the brushwork and allow us to roll more of the wall.
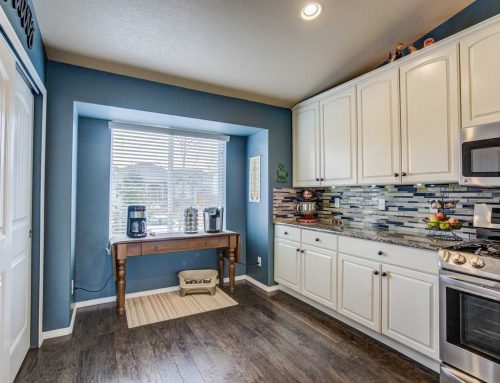
- Remove All Outlet Covers And Switch Plates
Removing covers and plates may seem tedious, but go around the room and remove the outlet and light switch covers. Trust us, its a lot easier to remove a cover in 30 seconds then spend a couple of extra minutes doing brushwork and then having to clean any mistakes. Have you ever walked into a building that’s been recently painted and you notice the light switch has paint on it? You don’t want to cut corners when painting your home.
*Pro Tip: Put all the parts into a ziplock bag as you’re taking them off. Trust us; you will thank yourself later*
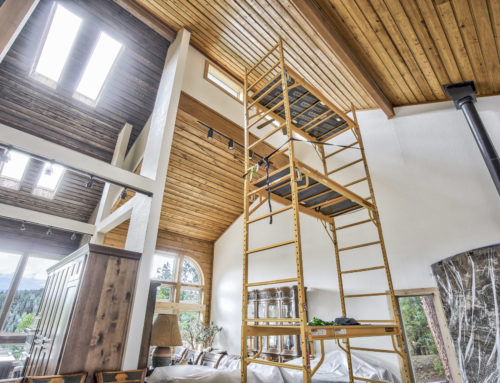
- Cover Everything In The Room With Plastic Or Cloth
Here is where your “Breaking Bad” or “Dexter” scenario can play out a bit. Your best line of defense against paint splatter will be draping cloth or plastic over everything in the room. It’s inexpensive and can save you a massive headache at the end. Cloth tends to work better on the floor due to its weight, and it won’t slip on the floor as much as plastic.
After Preparing for Painting—Prepping The Clean Up
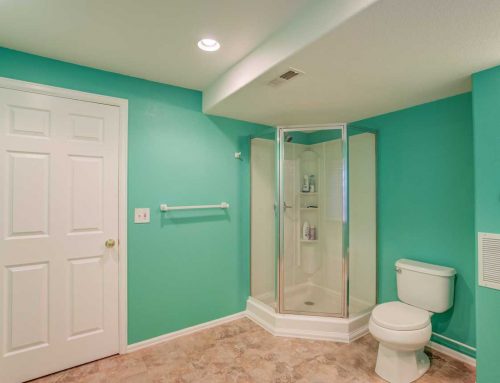
When it’s time to paint a room, your goal isn’t to feel evicted from your space for weeks. When you walk into a newly painted room after a few days, you’ll be glad you went with a professional painting service. No project debris on the floor, no streaks or odd shapes in the paint, and everything is just the way you wanted it.
If you are to DIYing, once the paint dries, carefully remove the plastic or drop cloths. Make sure that you don’t forget to screw outlet covers and switch plates in their proper place.
Want To Talk About Your Upcoming Interior Painting Project?
Not only do are we experts at preparing for painting, but we can also do a pretty sweet paint job on your walls! Send us a few pictures of what you’re looking to do, and we’ll see if we are a good fit for your project. Fill out our contact form, send us an email, or call us at 719-362-5304. We service Colorado Springs, Black Forest, Falcon, Fountain, Manitou Springs, and Woodland Park.


Leave A Comment
You must be logged in to post a comment.